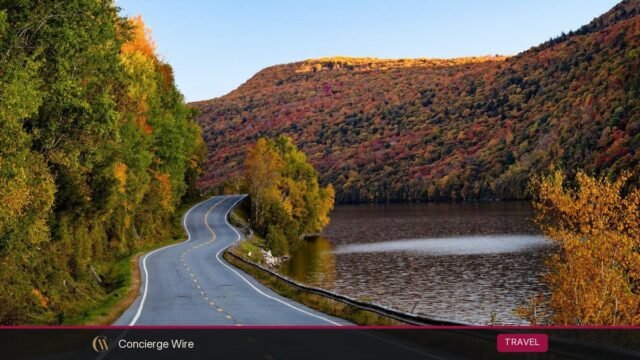
Fall and Winter Hiking Safety: Layers, Daylight, Ice and Gear
Cold-season hiking guide covering layering, daylight planning, traction for ice and snow, a winter gear checklist and warning signs of cold injuries.
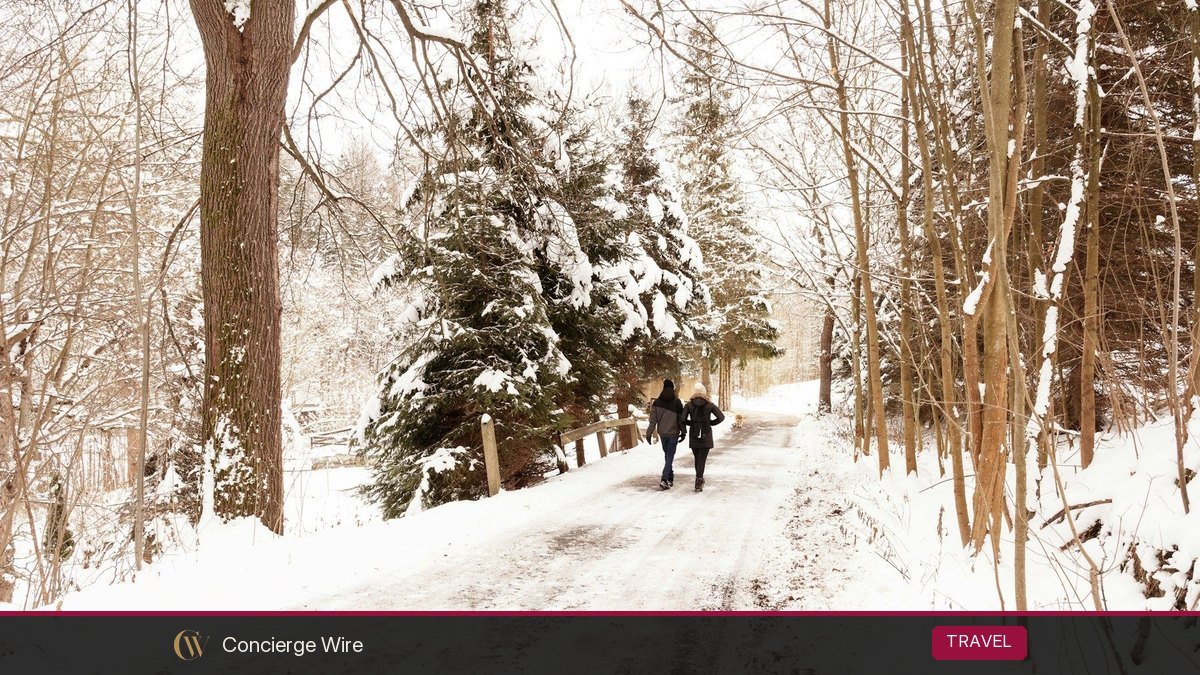
Fall and winter can be the best hiking of the year: quiet trails, no bugs, long views through bare trees. They are also the seasons when a routine day hike turns serious fastest, because daylight is short, temperatures swing hard and trails can ice over in shade while the trailhead is dry. This guide covers how to layer, how to plan around shrinking daylight, how to handle ice and snow, what to pack, and how to spot cold injuries early.
Key Takeaways
- Dress in three adjustable layers (base, insulation, shell) and skip cotton next to your skin; sweat-soaked clothing is what chills most cold-weather hikers.
- Plan your turnaround time from sunset, not from how you feel. Daylight saving time ends November 1, 2026, and evenings get dark abruptly after that.
- Carry the National Park Service’s Ten Essentials on every hike, including a headlamp and an emergency shelter, even on short routes.
- Traction devices such as microspikes handle most packed snow and ice on trails; steep icy terrain and avalanche zones need training and different gear.
- Know the early signs of hypothermia and frostbite: shivering, fumbling hands, confusion, numb or waxy skin. Turn back early instead of pushing on.
Why Cold-Season Hikes Go Wrong
Most winter hiking trouble is not dramatic. It’s a chain of small things. A late start because the car was frosted over. A slower pace on slick rock. A wrong turn when the trail is buried under leaves or snow. Then the sun drops behind the ridge at 4:30, the temperature falls 15 degrees in an hour, and the hiker who was sweating on the climb is now standing still, damp and cold, trying to read a map by phone light.
Every section below is about breaking one link in that chain. You don’t need expedition gear for a typical fall or winter day hike. You need a realistic plan, the right layers and a few items that weigh almost nothing until the moment you need them.
How to Layer for Fall and Winter Hiking
The goal of layering is simple: stay warm without sweating. Exertion on a climb can make you overheat even at 25°F, and when you stop, that sweat cools you fast. Ready.gov’s winter weather guidance boils it down to wearing layers of warm clothing, and the reason is flexibility. You add and remove pieces as your effort and the weather change.
| Layer | Job | Good materials | Avoid |
|---|---|---|---|
| Base layer | Moves sweat away from skin | Merino wool, synthetic (polyester, polypropylene) | Cotton t-shirts and jeans |
| Mid / insulating layer | Traps body heat | Fleece, synthetic puffy, down (keep dry) | Bulky cotton hoodies |
| Outer shell | Blocks wind, rain and snow | Waterproof-breathable or windproof jacket and pants | Non-breathable plastic ponchos for active hiking |
| Extremities | Protects hands, feet, head, face | Wool socks, liner gloves plus insulated gloves or mittens, warm hat, neck gaiter | Thin cotton socks, a single pair of gloves |
The rules that actually matter
- Start a little cold. If you’re comfortable standing at the trailhead, you’ll be sweating ten minutes into the climb. Shed a layer before you start.
- Adjust early and often. Unzip, take off your hat, or remove your fleece before you start sweating heavily. Put the puffy on the moment you stop for a break, not five minutes later when you’re already shivering.
- No cotton next to the skin. Cotton holds moisture and loses its insulating value when wet. Hikers have a blunt saying for it: “cotton kills.”
- Carry a warm layer you don’t plan to wear. The NPS Ten Essentials list calls for extra clothing that reflects the most extreme conditions you could encounter. That spare puffy is for the unplanned stop: a twisted ankle, a lost trail or waiting for a slower friend.
- Pack spare socks and gloves. Wet hands and feet get cold quickly. A dry pair at lunch makes a big difference.
Plan Around Daylight, Not Mileage
Short days are the single biggest difference between summer and winter hiking. In much of the U.S., daylight shrinks steadily through fall until the winter solstice around December 21. Then, on November 1, 2026, daylight saving time ends and clocks fall back an hour, so sunset suddenly arrives an hour earlier on the clock. A hike that ended comfortably at 5:30 p.m. in October can end in full darkness in November.
How to build a daylight plan
- Check sunset time for the trailhead location the night before. Weather apps and many GPS hiking apps show it.
- Set a turnaround time that gets you back to the car at least an hour before sunset. In forested valleys and on east-facing slopes, it gets dark well before official sunset.
- Estimate your pace honestly. Snow, leaves over rocks, and icy patches slow most people down noticeably compared with their summer pace. Budget extra time.
- Turn around at the turnaround time, even if the summit is “right there.” This is the decision that prevents most rescues.
- Start early. A 9 a.m. start instead of 11 a.m. buys back two hours of margin.
Always carry a headlamp with fresh or fully charged batteries, even on a two-mile hike. Phones drain quickly in the cold and make poor flashlights. Keep the phone in an inside pocket close to your body to protect the battery.
Ice, Snow and Trail Conditions
Ice is the hazard people underestimate most. A trail can be bare and dry at the parking lot and glazed with ice a mile in on a north-facing slope, near a stream crossing or under evergreens where the sun never reaches. Freeze-thaw cycles make it worse: snowmelt runs across the trail in the afternoon and freezes solid overnight.
Traction options
| Gear | Best for | Not for |
|---|---|---|
| Microspikes / trail chains | Packed snow and icy patches on hiking trails; the most useful winter add-on for most day hikers | Steep, technical ice or mountaineering terrain |
| Snowshoes | Deep, soft snow where you’d otherwise sink (“post-hole”) | Hard ice or bare trail |
| Crampons | Steep snow and ice climbing | Casual hikers without training in their use, or an ice axe to go with them |
| Trekking poles (with snow baskets) | Balance on slick or uneven ground, stream crossings | Replacing traction devices on ice |
Trail-condition habits
- Call or check the land manager. Park and forest offices often post current conditions, closures and seasonal road gates. Some roads to trailheads close for winter entirely.
- Read recent trip reports on hiking apps and local club forums, but treat them as hints. Conditions change daily.
- Watch stream crossings. Snow bridges and ice shelves over water can collapse. Falling into a creek in winter is a genuine emergency because you’re suddenly wet and cold.
- Expect hidden hazards. Fallen leaves hide roots and loose rocks in fall; fresh snow hides them in winter.
- Know about avalanche terrain. If your route crosses or sits below open slopes in the mountains with significant snow, check the regional forecast at Avalanche.org, which is run by the American Avalanche Association and the U.S. Forest Service National Avalanche Center. If you don’t have avalanche training and gear, choose a different route on those days.
The Winter Gear Checklist
The National Park Service publishes a Ten Essentials list that applies year-round. For cold-season hikes, here’s how each item translates, plus a few winter additions.
| NPS essential | What it looks like in fall and winter |
|---|---|
| Navigation | Downloaded offline map on your phone plus a paper map and compass; snow can hide trail markers |
| Sun protection | Sunglasses (snow glare is intense), sunscreen, hat |
| Extra clothing | Puffy jacket, spare gloves, spare socks, warm hat, neck gaiter |
| Illumination | Headlamp plus spare batteries, kept warm in an inside pocket |
| First-aid supplies | Standard kit plus blister care and any personal medications |
| Fire | Waterproof matches or lighter and fire starter |
| Repair kit and tools | Knife or multi-tool, duct tape, spare strap for traction devices |
| Nutrition | Extra food; calorie-dense snacks that don’t freeze rock-hard |
| Hydration | Water plus treatment; an insulated bottle or a bottle stored upside down to slow freezing at the cap |
| Emergency shelter | Space blanket, emergency bivy or lightweight tarp |
Winter additions
- Microspikes or other traction devices
- Trekking poles with snow baskets
- Gaiters to keep snow out of boots
- Insulated, waterproof boots with room for warm socks (tight boots cut circulation and make feet colder)
- Hand and toe warmers
- A sit pad so you’re not sitting on snow during breaks
- A warm drink in an insulated bottle; it’s a morale boost as much as a warmth one
- Bright clothing or a blaze orange hat and vest during hunting season, which overlaps the fall hiking season in many states. Check your state wildlife agency’s dates for the area you’re visiting.
Food, Water and Staying Warm From the Inside
Your body burns a lot of energy keeping warm, on top of the energy needed for walking in snow or on slick ground. Running low on fuel makes you colder and makes your decisions worse.
- Eat small amounts often. A handful of snacks every hour keeps energy steady better than one big lunch.
- Choose foods that stay edible in the cold. Some energy bars and chocolate turn rock-hard. Nuts, trail mix, cheese, jerky and soft cookies hold up better. Keep a snack in an inside pocket.
- Drink even when you’re not thirsty. Cold weather blunts thirst, but you still lose water through breathing and sweat.
- Keep water from freezing. Carry bottles inside your pack, wrapped in a layer, or in an insulated sleeve. Hydration hoses freeze easily; blow the water back into the reservoir after each sip, or switch to bottles in winter.
Recognize Hypothermia and Frostbite Early
The CDC’s winter weather guidance lists the warning signs of hypothermia in adults as shivering, exhaustion, confusion, fumbling hands, memory loss, slurred speech and drowsiness. It lists frostbite signs as redness or pain in any skin area first, then whitish or grayish-yellow skin, skin that feels unusually firm or waxy, and numbness.
What to do on the trail
- Stop the heat loss. Get out of the wind, add dry layers, replace wet clothing and put on a hat.
- Insulate from the ground. Sit on a pack or pad, not snow.
- Warm the core first. Ready.gov advises warming the center of the body first: chest, neck, head and groin. An emergency blanket and body-to-body contact help.
- Eat and drink something if the person is alert and can swallow safely.
- Head out or call for help. The CDC treats a body temperature below 95°F as a medical emergency. Mild symptoms that don’t improve quickly mean it’s time to end the hike.
- Don’t rub frostbitten skin. Ready.gov specifically advises against massaging it. Protect the area and get to warmth; avoid rewarming it if there’s a chance it could refreeze before you’re out.
A practical tip: hypothermia affects judgment, so the person who has it often insists they’re fine. If a hiking partner starts stumbling, slurring or acting unusually quiet or irritable, take it seriously even if they wave you off.
This article is general safety information, not medical advice. If you have heart or circulation conditions, asthma or diabetes, talk to your doctor about cold-weather exercise before heading out.
Leave a Plan and Know When to Turn Back
Before every cold-season hike, leave a simple trip plan with someone who isn’t going. It takes two minutes:
- Trailhead name and where you’re parked
- Route, including any planned alternate
- Who’s in your group
- Expected return time, and a “call for help if not heard from by” time
- What you’re wearing and carrying
Cell coverage in many parks and forests is patchy or nonexistent, so don’t count on your phone. A satellite messenger or a phone with satellite emergency texting is worth considering if you hike remote routes regularly in winter.
Good reasons to turn around
- You hit your turnaround time.
- Anyone in the group is shivering hard, has numb fingers or toes that won’t warm up, or is unusually slow or clumsy.
- Weather is building faster than forecast: dropping clouds, rising wind, heavy snow.
- The trail is icier than your traction can handle, or you can no longer find it reliably.
- Someone’s boots, gloves or clothes are soaked.
The trail will still be there next weekend. Turning back is a skill, not a failure.
Frequently Asked Questions
What temperature is too cold for hiking?
There’s no single number. Wind, moisture, your experience, your gear and the length of the hike matter as much as the thermometer. Check the forecast for wind chill, and if you’re new to cold-weather hiking, start with short, familiar trails on calm, dry days.
Do I need special boots for winter hiking?
For light snow and cold, waterproof hiking boots with warm wool socks are usually enough. For regular snow hiking or very cold days, insulated waterproof boots are more comfortable. Make sure there’s room for thicker socks.
Are microspikes worth buying?
For most day hikers who hike from late fall through early spring, yes. They’re light, fit over regular boots and make icy trail sections far safer. They’re not a substitute for crampons on steep mountaineering terrain.
How do I keep my phone battery from dying in the cold?
Keep it in an inside pocket close to your body, turn on low-power mode, download maps offline beforehand and carry a small battery pack. Still bring a paper map and a headlamp.
Is it safe to hike alone in winter?
Many people do, but the margin for error is smaller. If you go solo, choose well-traveled trails, leave a detailed trip plan, carry full emergency gear and turn back early. A satellite communicator adds a layer of safety.
What should I do if I get lost on a winter hike?
Stop, stay calm and put on warm layers before you get cold. Try to retrace your steps to the last known point. If that fails and you have signal, call 911. If not, stay put, insulate yourself from the ground, use your emergency shelter and make yourself visible.
Before Your Next Cold-Weather Hike
Pick a trail that’s shorter than your summer usual. Check the forecast and the sunset time the night before. Lay out your three layers, spare gloves, headlamp, traction and the rest of the Ten Essentials. Tell someone your plan. Start early, adjust layers before you sweat, and turn around on time. Do that every trip and the cold season becomes one of the most rewarding times to be on the trail.